 skip to Main Content

7 Tips for Choosing an Arc MMA Welder
Choosing an Arc MMA Welder is not only about buying the machine with the highest amperage. The right model should suit your usual materials, available power, work location, and welding experience. A compact unit may be easier to carry up a ladder, while a heavier transformer can feel steadier in a fixed workshop. Small details matter. A clear display, stable output, and accessible controls can make setup less frustrating, especially when gloves limit finger movement. Still, advertised duty cycles and amperage ranges need careful reading; numbers alone do not guarantee consistent results.
This guide offers seven practical tips for comparing power requirements, electrode compatibility, portability, duty cycle, build quality, and support. Use your own project list as a reference. A welder for occasional gate repairs may not fit daily fabrication work. Before purchase, check the manufacturer’s manual and verify the input supply, recommended electrodes, and included accessories. Protective equipment and proper ventilation remain essential, regardless of price or feature list. Even a well-reviewed machine can disappoint if its cables are short or replacement parts are hard to find. It is easy to overvalue extra features when a basic, dependable setup would serve the job better. I would not treat any checklist as a substitute for hands-on practice; that limitation is easy to overlook. The goal is a sensible match, not a perfect machine.
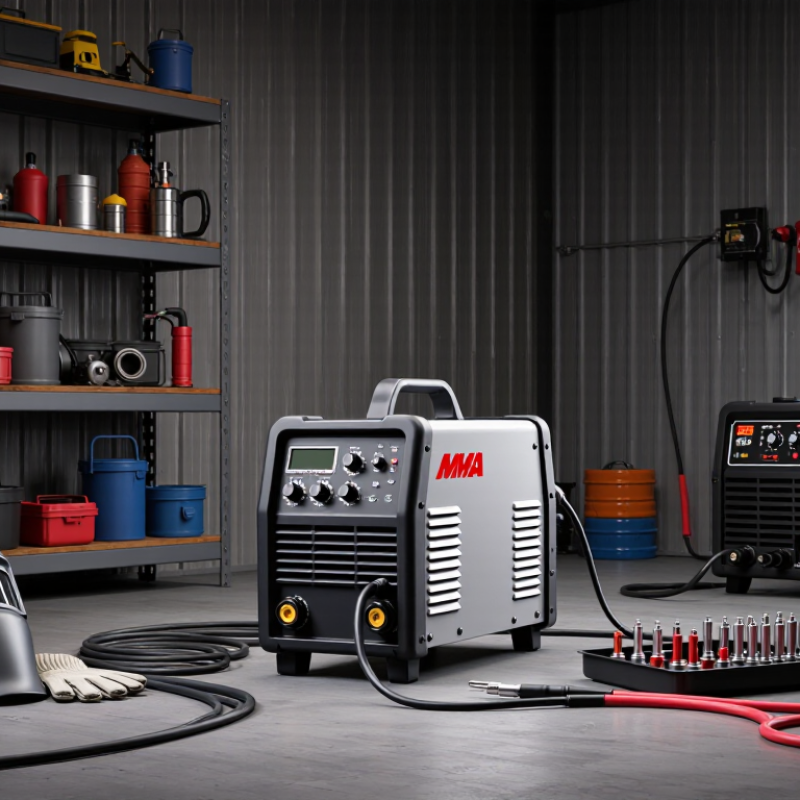
Identify the Workload and Process: MMA/SMAW Uses Consumable Stick Electrodes
MMA, also called SMAW or stick welding, feeds a consumable electrode into the arc. Its coating creates shielding gas and slag, so the process needs no separate shielding-gas cylinder. You still need to chip slag and change electrodes, which can slow repetitive production. That matters. For field repairs, farm equipment, or outdoor steelwork, compare those interruptions with the benefit of a portable setup.
Match the machine to the electrode and job. AWS A5.1/A5.1M classifies carbon-steel electrodes by minimum tensile strength: E6010 is 60 ksi, while E7018 is 70 ksi. These figures describe electrode classification, not a guarantee that a weld will achieve that strength. Check the electrode maker’s recommended current range, then choose a welder with suitable amperage and input power. Confirm its duty cycle at the current you expect to use; a machine that repeatedly overheats will interrupt work. I would not size it by peak amperage alone.
Tip: List the material thickness, joint position, and hours of arc time per shift. For occasional repairs, portability and a stable low-current arc may matter most. For long weld runs, prioritize duty cycle and electrode-change time. Test the setup on scrap of similar thickness. I still find this step easy to skip—and costly to regret.
| Tip | What to assess | Practical guidance | Why it matters for MMA/SMAW |
|---|---|---|---|
| 1. Match the welder to the workload | Typical material thickness, joint type, weld length, and hours of use. | For occasional repairs and light fabrication, a lower-output machine may be adequate. Repeated work on thicker sections can require higher output and a stronger duty cycle. | The right capacity depends on the actual electrode and job, not simply the maximum amperage printed on the welder. |
| 2. Confirm it supports stick welding | The specified process and output characteristics. | Choose a machine rated for MMA/SMAW, also called shielded metal arc welding. This process uses a consumable, flux-coated stick electrode; the electrode melts to provide filler metal while its flux helps shield the weld. | A power source intended for another process may not provide the controls or output characteristics needed for reliable stick welding. |
| 3. Check the current range against electrode needs | Electrode diameter, electrode type, welding position, and recommended amperage. | Approximate current ranges often encountered are 40–80 A for 2.0 mm electrodes, 60–100 A for 2.5 mm, and 90–150 A for 3.2 mm. Always follow the electrode maker’s specified range; requirements vary by electrode classification and position. | The usable adjustment range is more important than maximum output when selecting electrodes for everyday work. |
| 4. Understand the duty cycle | Rated output, duty-cycle percentage, and the stated test period. | A 60% duty cycle over a 10-minute period means up to 6 minutes of welding followed by 4 minutes of cooling at the stated rated conditions. Compare ratings at the current you expect to use. | Long weld runs and frequent welding can trigger thermal protection on a machine with insufficient duty cycle. |
| 5. Verify the available power supply | Input voltage, phase, circuit capacity, and the machine’s input-current requirements. | Check the rating plate and installation instructions against the actual supply and circuit. Do not assume a machine can deliver full output from every voltage or outlet. | An undersized circuit or incompatible supply can limit output, cause nuisance trips, or create an electrical safety risk. |
| 6. Decide whether AC, DC, or both are needed | Electrode compatibility, arc behavior, and the intended work environment. | Many common electrodes can be used on DC, while some are designed for AC or work on either current type. Confirm the electrode’s classification and polarity requirements before welding. | Having the required current type and polarity helps maintain a stable arc and proper electrode performance. |
| 7. Consider portability and operating conditions | Machine weight, cable reach, work location, and exposure to dust or moisture. | For field repairs, consider a manageable weight and cables long enough for the setup. Keep the machine within its specified environmental limits and protect it from rain, conductive dust, and impacts. | MMA is often used for maintenance and outdoor work, but safe placement and suitable equipment protection remain essential. |